Wood furniture usually needs painting treatments because of its low paint-capturing capacity and also buying new wooden furniture whenever you change your place’s interior is costly. But now it is possible to skip all these worries with a budget-friendly, simple, and easy DIY task, which is repaint wood furniture. Over time, your wood material furniture gets scratches, stains, or greases that affect its overall look and reduce its aesthetic appeal. You can now breathe new life into your furniture without hiring a professional, whether a chair or a large dining table.
Sometimes, due to the daily wear and tear, your furniture paint starts damaging, and the only possible solution you think is to replace that wooden part with a new one without considering that it could be fixed with a little effort. For repainting your furniture, it is essential to think of some crucial things, like choosing the right paint. In this blog, we will learn about suitable paint and how to DIY repaint wood furniture.
Contents
Choose the Right Paint to Repaint Wood Furniture
In the market, you will find various paint options for your furniture but choosing the right one will make a big difference. While purchasing the paint, remember to select the one that is resistant to water and sunlight. Your chosen paint must bear the daily wear and tear, like scratches or stains. Additionally, it must give your furniture a shiny appearance. Some paint types for furniture are latex, acrylic, milky, chalky, and oil-based, which are available in various color options in the market.
Required Materials
Below are some essential materials that you will need for this project.
- Drop Cloth
- Sandpaper
- Gloves
- Glasses
- Screwdriver
- Paint
- Paintbrush
- Primer
- Sealant
- Tack Cloth
- Palm Sander
Steps To Paint Wood Furniture
Here are some easy steps to repaint wood furniture.
Remove Hardware
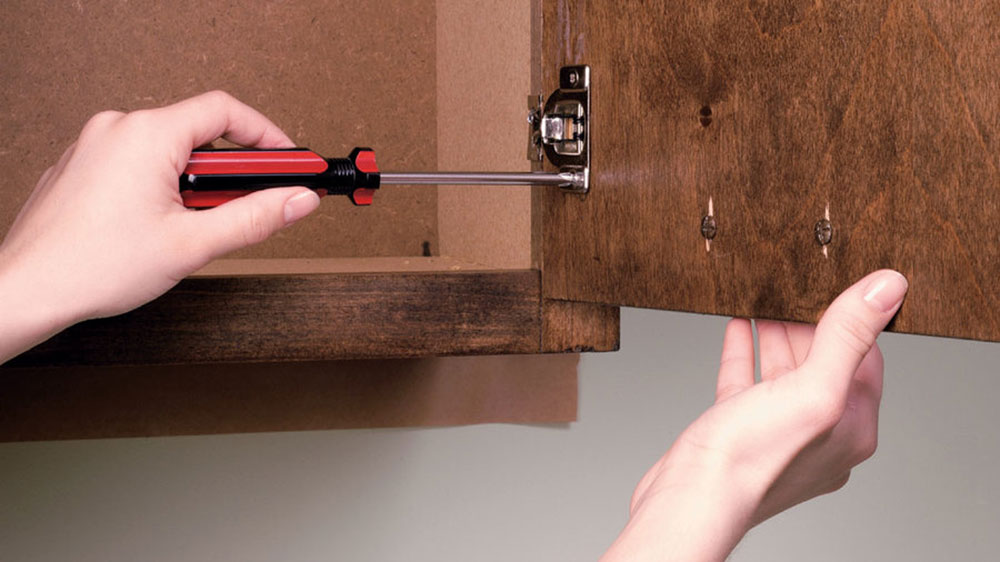
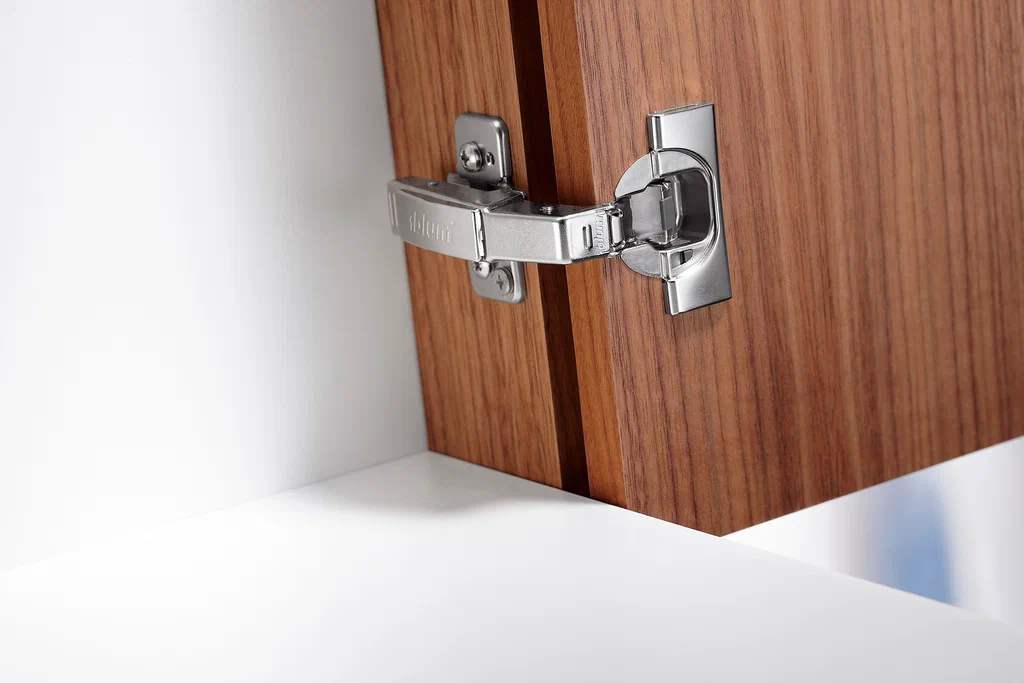
The first step for this project is to remove all the hardware from the custom made furniture so that you can easily do your work. Remove handles, drawers, or knobs from your furniture and keep them aside in a safe place. If some wooden drawers can be dismantled easily, remove them to cover the entire surface. It is also essential to place the furniture in a well-ventilated area because, due to humidity, it will take more time to dry up.
Place a Drop Cloth
To protect your floor and carpets from the splashes of paint, take the precautionary measure by placing a drop cloth on the entire place. It will protect your space from splashes, and the loose dirt will not accumulate on your carpet. So, before directly starting to repaint wood furniture surfaces, preparing your place is an essential step.
Clean the Surface
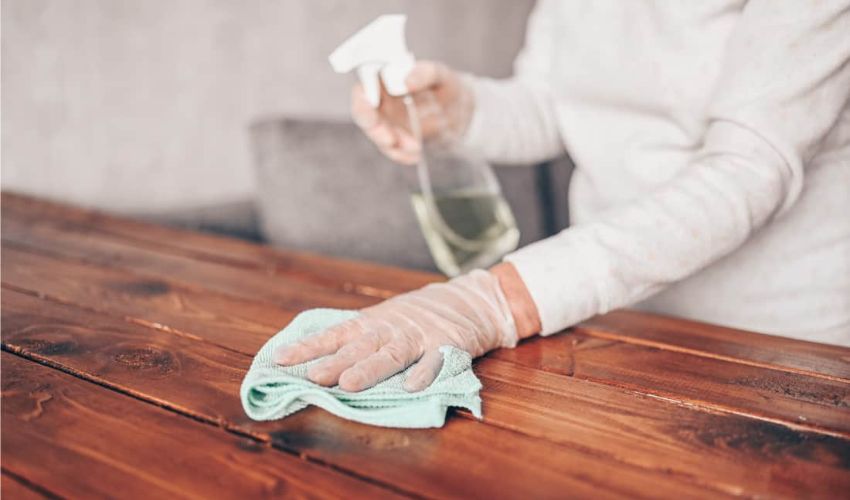
Before repainting, clean the dirt or dust particles from the surface of your furniture. These dust particles could be a reason for improper paint adhesion. You should use a microfiber cloth to clean the furniture surface for proper finish. You can also use mild detergent and water to remove the dust particles. Sometimes, your wooden fixtures have greases; you can use a de-greaser to clean them.
Start Sanding
Now that everything is clear and polished, you can start the sanding step. Always move the sandpaper with the grain of wood and do this process smoothly; it will prevent any damage. Before starting to repaint wood furniture, remove the existing old finishes and paint by using 180-grit sandpaper.
Remove the loosened paint or finishes and make the surface smooth. Now the existing paint and finishes are removed, take a tack cloth and wipe down the surface. It will make the fixture ready to start the painting process.
Apply primer
Applying primer to the surface is an essential step that people primarily ignore. The primer gives a base coat to the paint. Remember to use a thin primer layer and wait until it completely dries. After it is dried completely, inspect if another layer is needed, then apply. Using a primer is a good approach for better adherence to the paint.
Start Painting
To repaint wood furniture, invest in the type of paint that is of high quality and resistant to water and scratches. Latex paint is easy to clean and has different finishes. In contrast, chalky paint has a fast drying time and adheres very well to any surface, acrylic paint has a resilient finish, and oil paint has a long-lasting finish and adheres on most surfaces easily.
After purchasing a paint of your choice, take a good quality paintbrush and dip it in the paint. Smoothly apply the paint layer on your wooden fixtures and let the layer dry completely. Apply the paint in several coats. It will give a smooth look to your fixtures and prevent furniture water damage.
Use Sealant
When the paint is dried, take a sealant and apply its thin layer to the surface of your wooden fixtures. Most people don’t use sealants, but they are essential to give the surface a shiny and finished look.
Readjust The Hardware
Now that you have done with your repainting project and the furniture is dried thoroughly, readjust the hardware that you have dismantled and then place it in the area where it belongs. Here, you are done with repainting wood furniture.
Mistakes To Avoid
Some essential mistakes that you should avoid to repaint wood furniture are listed below.
- Avoid Thick Coat: Keep in mind to avoid the application of thick coats. The thick coats can cause bubbling of the paint.
- Preventing Primer And Sealant: Most people ignore using primer and sealants and end up with uneven and less attractive results.
- Rushing The Process: For an instant result, people do this project with rushing. While repainting and drying takes time. So, avoid rushing.
- Ignore Drying: Sometimes, the improper and uneven finishing is because people don’t let the fixture dry completely between each coat.
To Sum Up
To repaint wood furniture is not a difficult task. It is a project which is simple and requires patience. You can easily breathe life into your fixtures by repainting the wooden furniture. Choosing the right paint, taking some preventive measures, and avoiding some common mistakes will lead you to better results.


